My students often complain about painting a nose. I hear ya, they are tough… so let’s look at a few things to make painting the schnoz a little bit easier.
Check your levels.
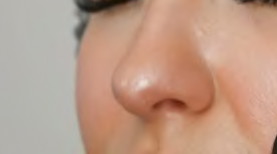
So it is an interesting thing. Toddlers and babies tend to have the bottom root of the nose sitting higher (middle) than the side or “wings” of the nostrils (technically known as the nasal ala) where the sides attach like so…

As children get older this relationship tends to change and the root of the nose becomes lower than the wings. But this is not always the case. There are many ethnic diversities that affect this- Asian, African American, etc… so be sure to check on the levels of these across the bottom of the nose.
Watch for Black Holes.
Yep. Nostrils can be tricky. And most photos show them as black caves. Painted this way they can seem very harsh. Especially on a child. Keep them warmer, softer and lighter than you are seeing. It is a living person that we are trying to represent in paint afterall, so keep every piece of the face beautiful and alive.
All Together
There are typically 3 values that can be found all tightly together on the tip of the nose. This is caused by the “up plane” of the top of the nose and then the quick turn into the “down” plane as it recedes underneath. Then somewhere, depending on the lighting, there is a highlight where light beams are bouncing off the nose and out at the viewer. The brightest highlight is typically only on and limited to the tip of the nose. This is because the nose is the form jutting out the most from the face, and it catches the light differently than the softer planes of the sides of the head than the rest of the face where the planes are softer. Be sure to keep your highlights clear and deliberate. They are after all, not a part of the nose, but rather light beams bouncing off the form.
Attachments
Dark “half-circles” do not exist around either side of the nose. I see this a lot on paintings. The side of the nose and the plane of the cheeks are different turning forms that merge into each other. Typically I see these horrible, dark chocolate brown “parenthesis” around the flanges of the nose. This is typically shows that the artist is copying a dark and inaccurate photo.
Round it out
The nose is more than nostrils, “parenthesis” and a highlight. The sides planes of the nose come off a very deliberate up plane and fall down very quickly into the cheeks. Clear color changes are here as well a values. A believable portrait is nothing more than “breaking the picture plane”. In other words, creating an illusion of depth that what we are looking at in a painting is 3-dimentional. Be sure to think of the roundness of the nose, otherwise you can wind up with a “dinner plate” portrait. Features “served up” on a flat surface.
So if you wonder why your nose looks wrong in your image it is probably being represented as something very flat…
But look at these amazing snoots! Ah the master’s touch… clear plane changes, clear highlights. The last one is on the Statue of Liberty.
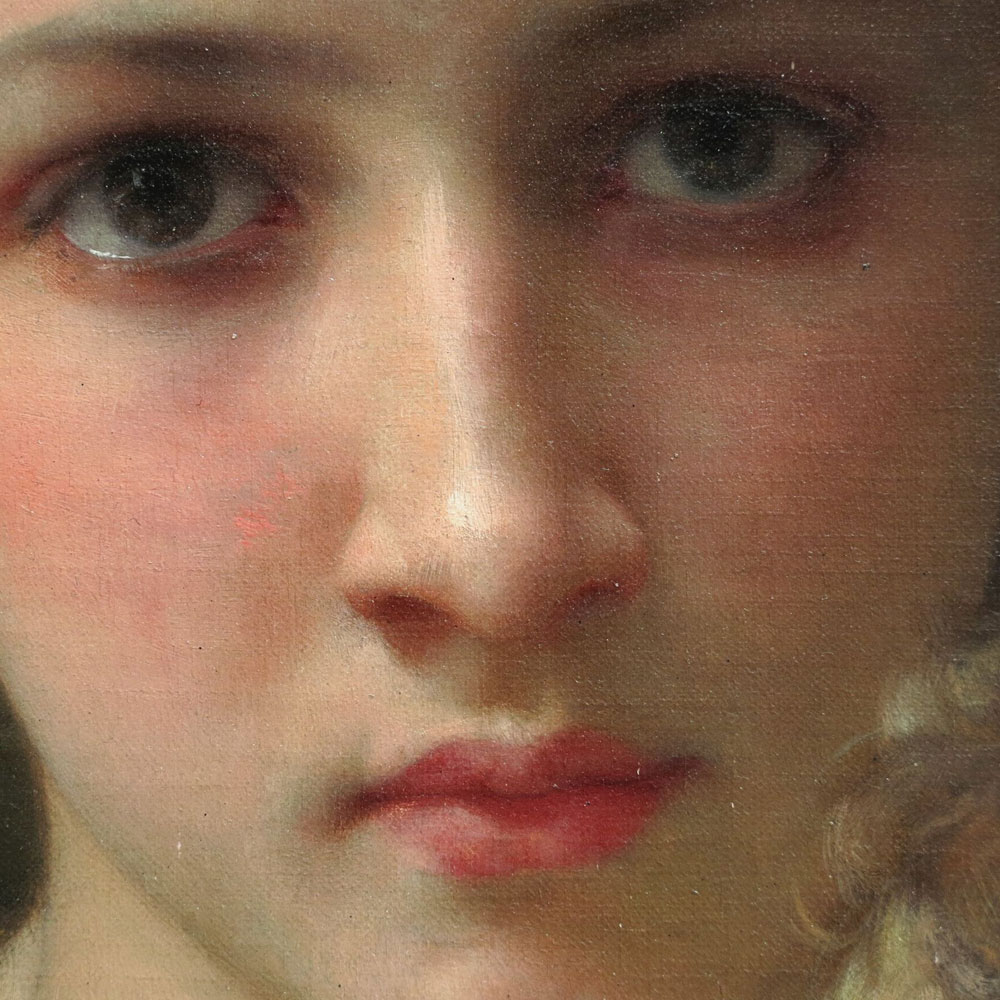
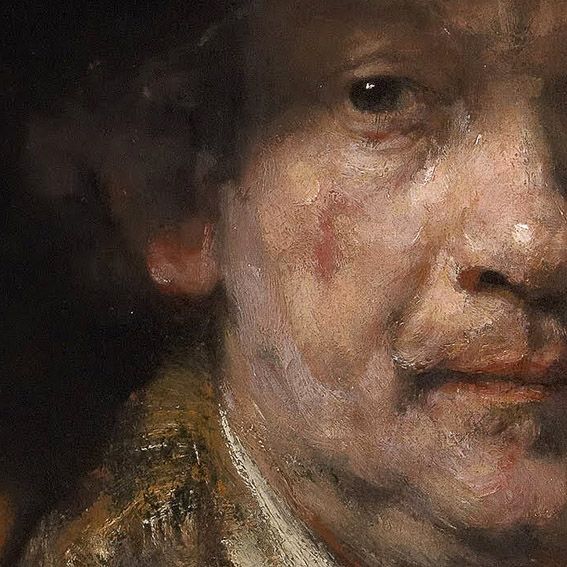
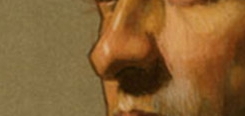
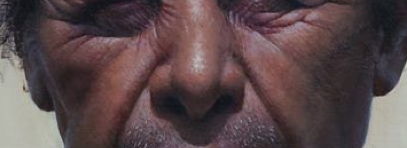

So slow down and take a closer look. Noses are distinctive, 3-dimensional and unique. Be sure to capture that!

Thank you for that.
🙂
The more I read your blogs, the more I think that one of these days I might get up the courage to try a portrait in watercolor!! You inspire me, Christine
yay! do it! 🙂
as you mention …. the photos are altered or the lighting and angle is such that the nose does not demand more attention than … what most perceive as being most important THE EYES & secondly mouth expression.
example : why do women alter their eyes & mouth ….. I don’t believe any but clowns alter the nose .
therefore , paint your noses with less contrast & avoid those dark nostrils . as we illustrators did , if you want a cute or pretty girl or handsome man.
As with every painting : what are you trying to say that is most important ?
exception : Jimmy Durante
hehe! great advice from the master!
Thank you! I loved your explanations and examples!
🙂
Hi Chris– one exercise I tell people to try is the good ol’ draw from an upside down photo. I always tell them to find a black and white one so they don’t have to worry about color. Drawing from an upside down photo trains the student’s brain to stop thinking of it as a nose, which they are intimidated by, and see it merely as a few connected shapes. It really helped me in the beginning. When I work from photos, after I figure out my composition, I almost always begin the drawing upside down, regardless of subject. Really helps me generalize. Nice post, as always!
hi yes that is great advice as long as the reference shows the nose in some kind of detail and in relief ( good lighting) or else a flattened photo reference will result in a flattened snoz every time!
Very helpful tips Christine! I’m reading as I complete a commission of people facing in different directions 🙂 Thank you!
🙂
This is very helpful! Thank You!
🙂